PLUS: NEW GAME! Forest to Frigate at the USS Constitution Museum.
Sometimes we build games that are mobile, sometimes location based, sometimes both. But there’s one thing that every game has in common and that is that it starts from a nice, clean, clear GAME DESIGN DOCUMENT!
So what’s a Game Design Doc? It’s a document that maps out how your game works. Some developers call it “Specs” or “Design Specifications” or “wireframes” or even “clickable wireframes” but the fact is without this document to work from, you’ll most likely design a handful of digital spaghetti.
“HOW do I build a design doc??!” you may say. Every designer comes up with their own process but here are 5 easy steps to getting started building a game design doc. I’ve taken some handy examples from a really fun game we just released with Test Tube Games and the USS Constitution Museum. (And you should go there and play because it’s awesome!!)
STEP 1: YOU NEED A DESIGN DOC
You may say “well this game doesn’t need a design doc”… and you are WRONG! It doesn’t matter how much you know this game. Or how simple it is. Or how tired you are. Or how much you hate paperwork. Make this document. Do itttt!
STEP 2: WRITE OUT YOUR DESIGN FRAMEWORK ON ONE PAGE
Even if you’ve already gone through this step, it doesn’t hurt to write it out again and again. Once I have an idea of what my goals, resources and restrictions are, I like to nail down:

- Game Goal
- Audience
- Play Time
- How do you win
- How do you lose
This is really handy because if you and your team (or client, or future team if you’re doing this along) disagree or misunderstand any of these things, you want to know now right at the beginning.
STEP 3: PLAYMAP
What is the actual map of how your user will walk through the game? It may be very complicated or it may be very simple but you should be able to sketch this pathway out on a piece of paper so everyone can see it. This is a great place to catch holes like “what happens if…” Use little circles and arrows to show the pathway, it isn’t necessary to work through details here.
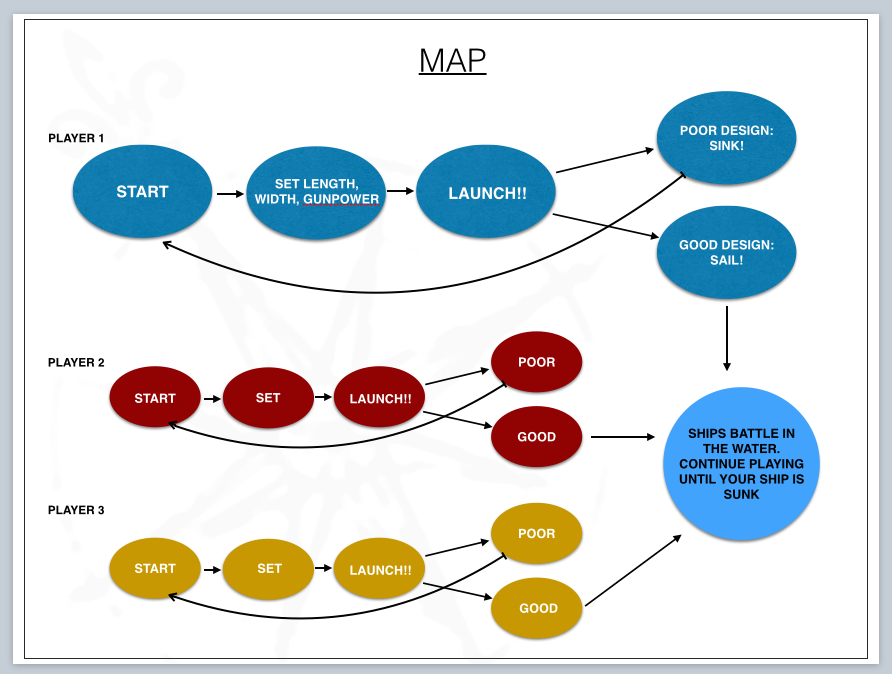
STEP 4: FLESH OUT YOUR PLAYMAP
Now you can work through the details. Where will things go? How will certain factors effect other factors and how can you make them work together? Remember a design document isn’t the final thing, it’s the place where you work through all these challenges before you actually start coding things.


STEP 5: FIND THE HOLES
After going through this process, you’ll probably say to yourself- but what about X and why doesn’t Y line up? This is really good! This is what you’ll talk to your team about after you send them this document and you walk through it and try and solve these problems.
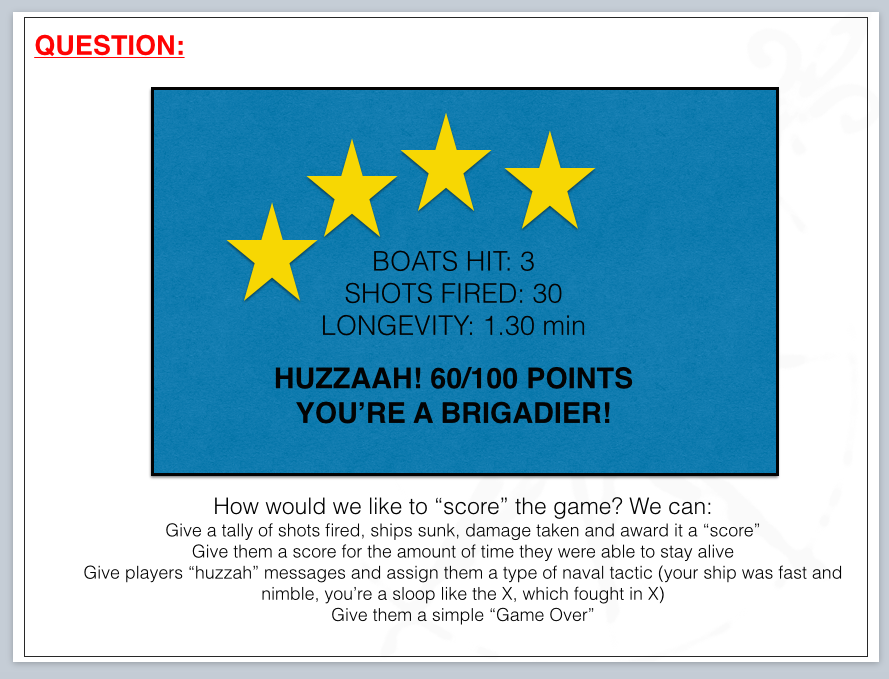
So it’s not hard to do and it’s SO IMPORTANT! I like to use either Powerpoint or if I’m feeling fancy and need a clickable wireframe (where I can click a design object and it will go to that “link”) I use Balsamiq, which is a great design tool. You can take a look at the initial clickable wireframes we had for the League of Extraordinary Bloggers game here.
If you play the game itself, you’ll see that a lot has changed- and that’s GOOD! You want to change things in the design document, not in your actual game.
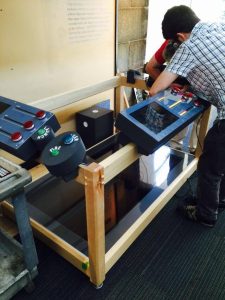
So if you take a look at this design document from the Forest to Frigate Game, you’ll see that it looks SUPER FUN, right?? Here’s it is in Beta testing with Andy Hall from Test Tube games and Robert Kuhn from the USS Constitution Museum hard at work making it come to life in the exhibit hall. The next one is a crowd of people rushing in to play the new game!! All thanks to hard work from a bunch of people, which started with us all talking through a game design document. Huzzah for documents!! If you’d like to see the final game design document, it’s right here.
And go to the USS Constitution Museum to play Forest to Frigate!!

Leave a Reply